I can't speak to how others commit art, and goodness knows I commit it in different fashions on a regular basis, but there are a few givens in the process. I thought I'd set this down, for those who have the tendency of liking to see how others do it (I'm one of those myself, I find it inspiring). Or to inform those who have no idea, especially those who may be foraying into the self-publishing realm, for what to look for, what to expect and what's realistic. It's difficult to know whether a price you pay for the artwork is fair or not without knowing the process
Some of my covers I've done already:


I think you can tell these are my work, right?
What even constitutes a good cover? Harder than you think. A good cover not only embodies the spirit of a book. It needs to be eye grabbing, clear, reduce down to a small size and be legible and exploded up and still hold the design. Simply eloquent visually with a minimum of clutter. A friend with a BRILLIANT cover,
Cynthia Lord's RULES is a great example of an exceptional cover. Intriguing, colorful, humorous, it conforms to all of these things.
I hand render my work. Keep in mind it will look like my art. So if you want a certain kind of cover, you need to find out who does it, or EMULATE (do not plagiarize, or you could get into a world of hurt on that!) Think about the character of the book and the character of the cover, not only the imagery, whimsical does not a horror story make, for instance.
Ingredients for your cover: You need to have the title, byline. Personally, unless your book is an award winner, any blurbs, etc. I believe should be on the back, for the most part. The less busy ness the better!
I just finished a cover for my friend
Margot Finke, and she's given permission for me to share the process. I will not only explain the reasoning, but will also be upfront about the expense end of it, because I'm not the only one doing this for extra credit, and if you're an author buying someone's services it may help you to decide if the money is worth it or not. Again, realize this is MY process, so if you're doing this, you need to talk with the illustrator you hire, so you don't have many glitches.
The first thing I do is talk with the author. Some authors are so specific, they can tell me exactly what they want. There are times I won't take that particular job. Just as authors need to own what they do, barring critique and editorial input, illustrators are alike in that regard. If it feels as if there's no room for me, there are other artists as well as Photoshop and Clip Art out there for the author to make a cover exactly the way they envision. Personally I want them to want ME with my style.
Also if they balk at my price (covers range from $100-300, depending on the detail and time involved, more often than not it comes in at under $150. Sounds like a lot but when you realize I'm not working on my stuff, and it works out to less than minimum wage most of the time, and other than my promoting the cover as my work- which also helps the author-- they own the artwork in my eyes. The only thing I ask is if they need to make changes to it, they give me the opportunity to do it, because my name is on the work as well.
If I take the job, it's one third - one half down, depending on the resources available and what the author is comfortable. Next I read the book. I'm a slow reader, have difficulties with my eyes, so it can take upwards to a couple of days if it's a longer work.
Then I will sketch it out, keeping in mind the original conversations. This is the first sketches I showed Margot for her upcoming book, Down Under Calling:
.jpg)
This wasn't what Margot had in mind so we spoke a bit more and I reworked it to this:
and a colored version fleshed out a bit more to give an idea of the palette:
This is usually where I get the author's approval to go on. In this case, talking further, we lost the clothes line, and I put a pair of kookaburras in, then edited further:
Now we start playing with the titles, Margot liked my calligraphy from Nana's Gift. I haven't got my pens with me so I play in Photoshop. In the end I used a combination of Photoshop rendered and hand rendered-I can make a broad edge with a couple of pencils, papertowel and rubberbands for a small amount of text-- and Photoshop edited Title and byline. Here's the playings with:
Decided to lose the Kookaburra, then the Frilly, the color of the shoes, a few little details....
And VOILA! We have Achieved Cover!
There is still the adjustment of the title so it's not hitting the top of the page to make, but over all I like this, composition and the color. If someone has paid me one third, they will pay the second third when I give them the color study. Final payment is due with the finished art. I send them the 350 dpi and a web version of 72 dpi. I tell them I can resize specifically (it's better to do it in Photoshop, the resolution is far superior) if they give me the dimensions they need.
P.S.
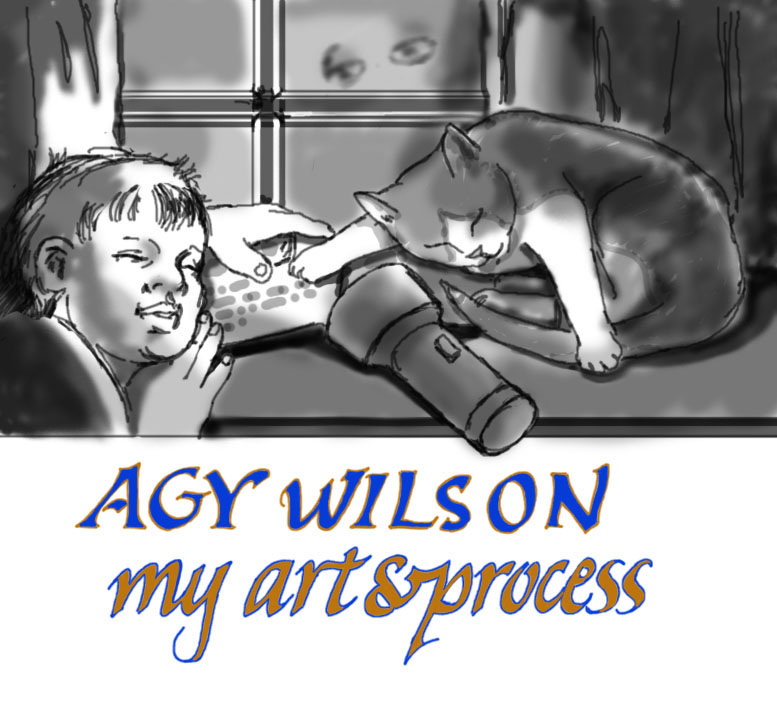
Another trick to see if things clearly, if your composition and forms are working, but you have to do it to a COPY, is to DESATURATE the work. Rendered in grey you can see if the work holds and reads well. Here's the study I did for that:
Hope this helps!


.jpg)


